Cleaning your mixer jar keeps it working well, makes your food safe to eat, and helps it last longer. In this guide, we’ll show you How to clean a mixer jar effectively and safely.

How to clean a mixer jar - Steps
Before You Begin: Take Photos
Before disassembling the mixer jar, take a few photos using your phone. This will serve as a reference when reassembling it after cleaning.
Step 1: Safety First
Always unplug the mixer before cleaning to avoid electrical hazards.
Step 2: Empty the Jar
- Discard any leftover food or liquids.
- Avoid pouring thick residues down the sink to prevent clogging.
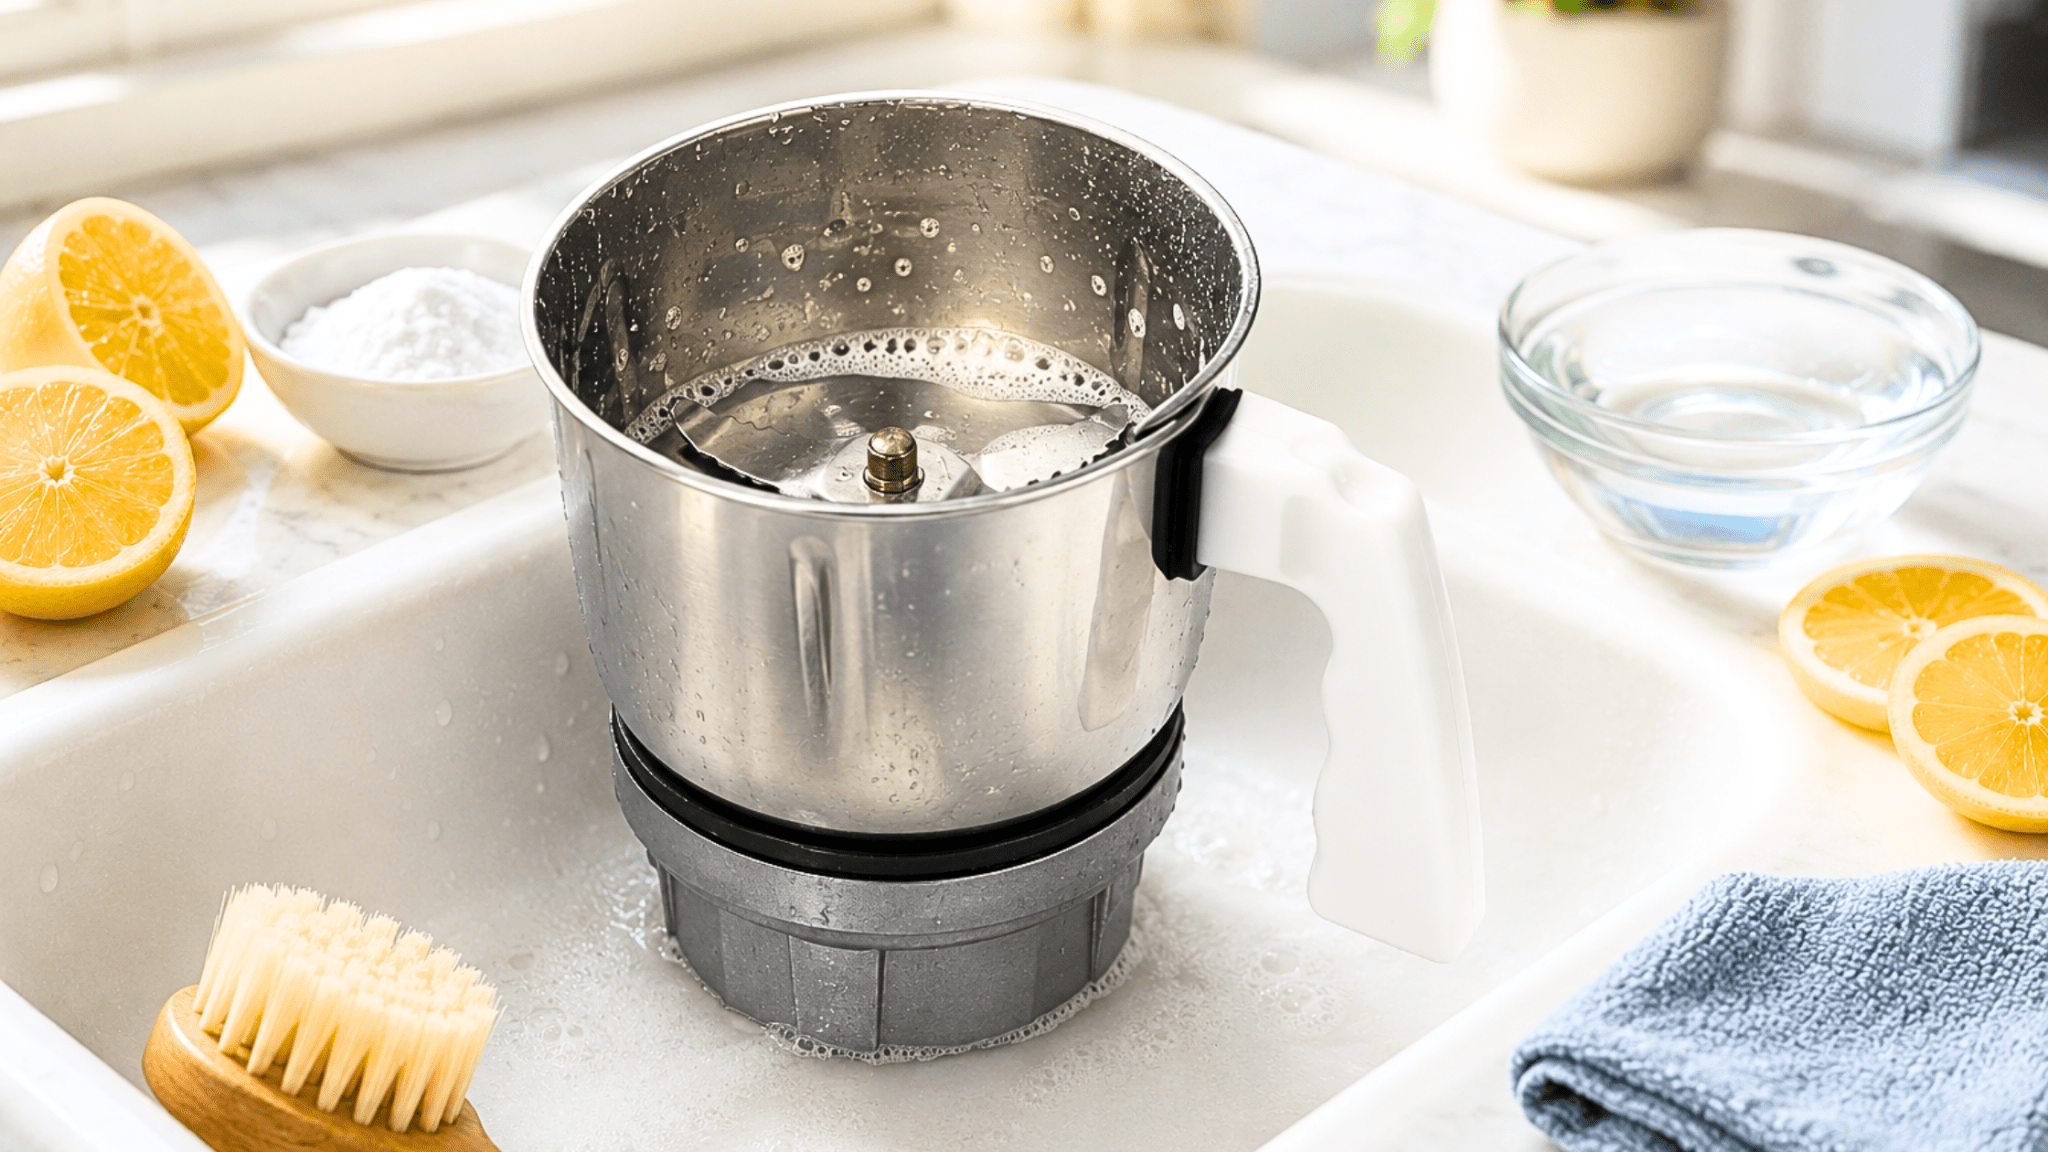
Step 3: Pre-Soak for Easy Cleaning
If stubborn food particles are stuck, pre-soak the jar:
- Fill it with warm water.
- Add a few drops of dishwashing liquid.
- Let it sit for 10-15 minutes to loosen residue.
Step 4: Wash the Mixer Jar Thoroughly
- Use a soft sponge or brush with mild detergent to scrub the jar.
- Pay extra attention to the bottom and edges, where residue builds up.
Step 5: Clean the Blades Separately
- If the blades are removable, wash them separately with warm, soapy water.
- Use a soft brush or sponge to remove food particles.
- Handle sharp blades with care to prevent injuries.
Step 6: Rinse Thoroughly
- Rinse all parts under running water to remove soap residue completely.
- Ensure both the inside and outside of the jar are soap-free.
Step 7: Dry Completely
- Wipe all parts with a clean, dry cloth.
- Allow them to air dry on a drying rack to prevent moisture buildup and mold.
Step 8: Reassemble & Store Properly
- Once fully dry, reassemble the mixer jar, referring to your photos if needed.
- Store it in a clean, dry place to keep it ready for future use.
Why Regular Cleaning is Important?
✔ Prevents bacterial growth and foul odors.
✔ Enhances mixer performance and durability.
✔ Ensures hygienic food preparation every time.
Follow Twin Palmyra these cleaning tips to keep your mixer jar clean, safe, and working well for a long time!